Black Cat Garland

I’ve got a fabulous craft for you today! This Black Cat Garland is so cute and so quick and easy to put together. It would be perfect for Halloween, a party decoration, or a decoration for a kid’s room.

Black Cat Garland

In fact, this cat garland started out being made of yellow and black cats. I originally made it for my son’s cat-themed 5th birthday party, a couple of weeks ago (which you can see, along with the other cat-themed decorations and cake I made, on my Instagram ). He is obsessed with cats. He asked for a cat-themed birthday party. Of course, I said yes!

Then, my son had the brilliant idea of making all the cats black and using the garland as a Halloween decoration! Isn’t he clever? (I’d like to think that some of my arty/ craftiness is seeping into his consciousness, but maybe he’s this clever all on his own.) So, I took off the yellow cats and made some more black ones for the garland, for Halloween. Of course, you could make the cat garland any colour you like. I can picture an adorable pink or pastel-hued version.

Black Cat Garland

Here’s how to make the Black Cat Garland:

Materials:

  • 2 sheets of black poster board
  • twine or thick white cotton string
  • clear tape
  • metallic permanent marker
  • pencil
  • scissors

Instructions:

  1. Draw and cut out a cat head template using thin cardboard (I used a cereal box). Or you could cut the cat shape out, to trace around it.Black Cat Garland Template
  2. Trace cat heads onto poster black poster board, using pencil. The ones I made are about 5 inches across, I think. I recommend making an odd number, like 7 or 9. I think asymmetry looks the most balanced.
  3. Cut out the cat heads.
  4. Draw faces on the cat heads, using metallic permanent marker. This type of marker will show up beautifully on the black board. (You can use any kind of marker you like, for other colour cats.)
  5. Lay the cat heads face-down in a straight line across a large table, spacing them as evenly as possible, about one inch apart.
  6. Lay twine or thick white cotton string across the tops of the cat heads, making sure the centre the twine through the middle of the ears. Leave enough twine at each end, for hanging the garland.
  7. Using clear tape to attach the twine to the cat ears. Be very careful to keep the cat heads and twine very still, as you work, to keep everything aligned properly. Black Cat Garland Back
  8. Tie a knot at each end of the twine, to prevent unraveling.
  9. You can hang the garland using the twine, or poster putty/ Blue Tack. If you use putty, cover it up with small circles cut from excess poster board.

Black Cat Garland

That’s it! One spooky Black Cat Garland completed.

Happy Halloween!
Beach Craft

beach craft

Have you found yourself bringing home natural treasures from the beach (or your little one has)? Then, once you’re home, you put them all in a little bowl–which is lovely, but you kind of wish you could display your finds in a more creative way.

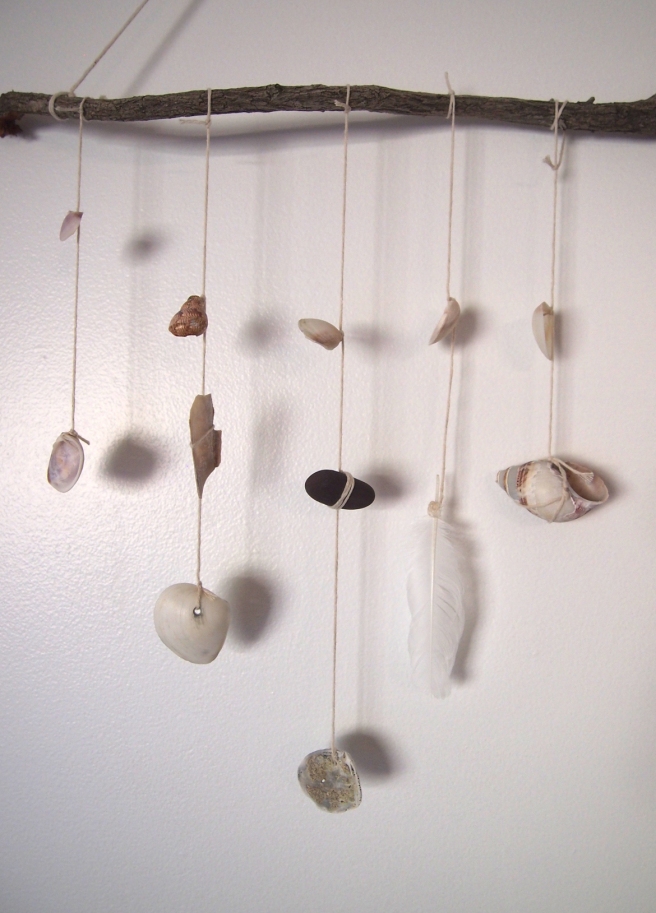
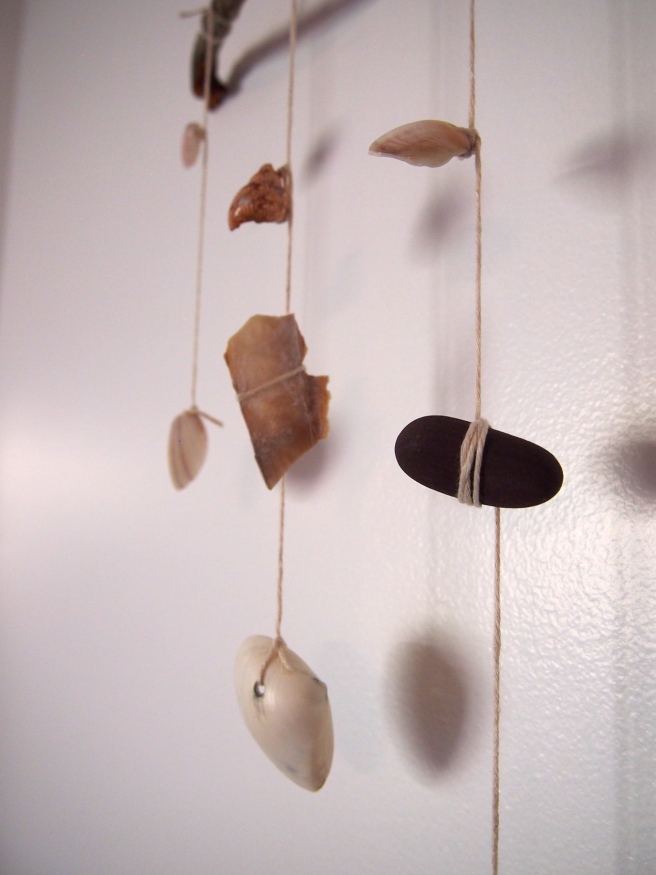
Well, that’s what I was thinking, so I decided to hang them on a branch. I had seen something similar on instagram (oh, how I love instagram!). I had filed that image away in my brain for future inspiration. Another summer rolled around, and my little boy and I came home from the beach with a handful of shells, a stone, and a seagull feather, and I knew just what to do.

beach craft

Now you do, too. It’s so easy. Just get some string (I used kitchen twine), and a branch, and hang your treasures on it. You need to either find shells that have holes in them, or drill small holes in them. You can also wrap the string around the shells and stones.

beach craft

My son enjoyed helping me with this craft, too (until he got bored, and decided to go watch tv). He’s 4. If he was a little older, he might have the attention span to do more. He loved collecting the shells and sorting them out. He also loved watching me string them up and turn them into a wall hanging.

beach craft

Once you have tied all the shells, etc. onto lengths of string, lay the strings out along the branch, to check the spacing. If you feel like securing the items a little more, just use a tiny drop of glue on the knots. I did that, on a few spots. When you’re happy with the spacing, secure each string to the branch.

beach craft

Then, use a length of string (I doubled mine up, to be stronger), knotting on each end, to suspend the branch on the wall. I used a Command hook on the wall, in case I decide to change things up later.

beach craft

See how easy it is? Now, get those shells and stones out, and string up some of your favourites. It will make you remember being at the beach, and you’ll feel just a tiny bit more relaxed. Sounds good, right?

beach craft

Those of you up in the northern hemisphere can save this for later. Summer will return, and you’ll be collecting your own treaures. You could use other things, if you’re not into shells, like crystals, pine cones, seed pods, and the like. A forest-inspired wall hanging would be really cool, now that I think of it. So, there you go. An easy craft to bring some natural beauty into your home.

beach craft

All photos and writing copyright Kim Sequoia 2018 for a delicious moment.

If you would like to blog about this project, please use your own photos and wording, and link back to my original post. Thanks.